LazyVim Install & Setup
Let's spruce up Vim with LazyVim, which turns NeoVim into an IDE like VSCode.
LazyVim
LazyVim is basically one of NeoVim's setups, it's just a collection of NeoVim's settings.
In addition to LazyVim, there are LunarVim, AstroNvim, and SpaceVim, but this is the first time I've heard of these setups, so let's see how to install and configure them, focusing on LazyVim.
Install
Since the goal of setup is to be easy to use, the installation process is very easy.
Backup
First, create a backup of your current NeoVim configuration (if you don't have your own configuration, you can delete it).
NeoVim configuration files are located in the nvim directory.
# required
mv ~/.config/nvim{,.bak}

# optional but recommended
mv ~/.local/share/nvim{,.bak}
mv ~/.local/state/nvim{,.bak}
mv ~/.cache/nvim{,.bak}
Install LazyVim
Next, let's download a file that will automatically install LazyVim from GIt.
git clone https://github.com/LazyVim/starter ~/.config/nvim
Then delete the .git directory.
rm -rf ~/.config/nvim/.git
Finally, just run NeoVim!
nvim
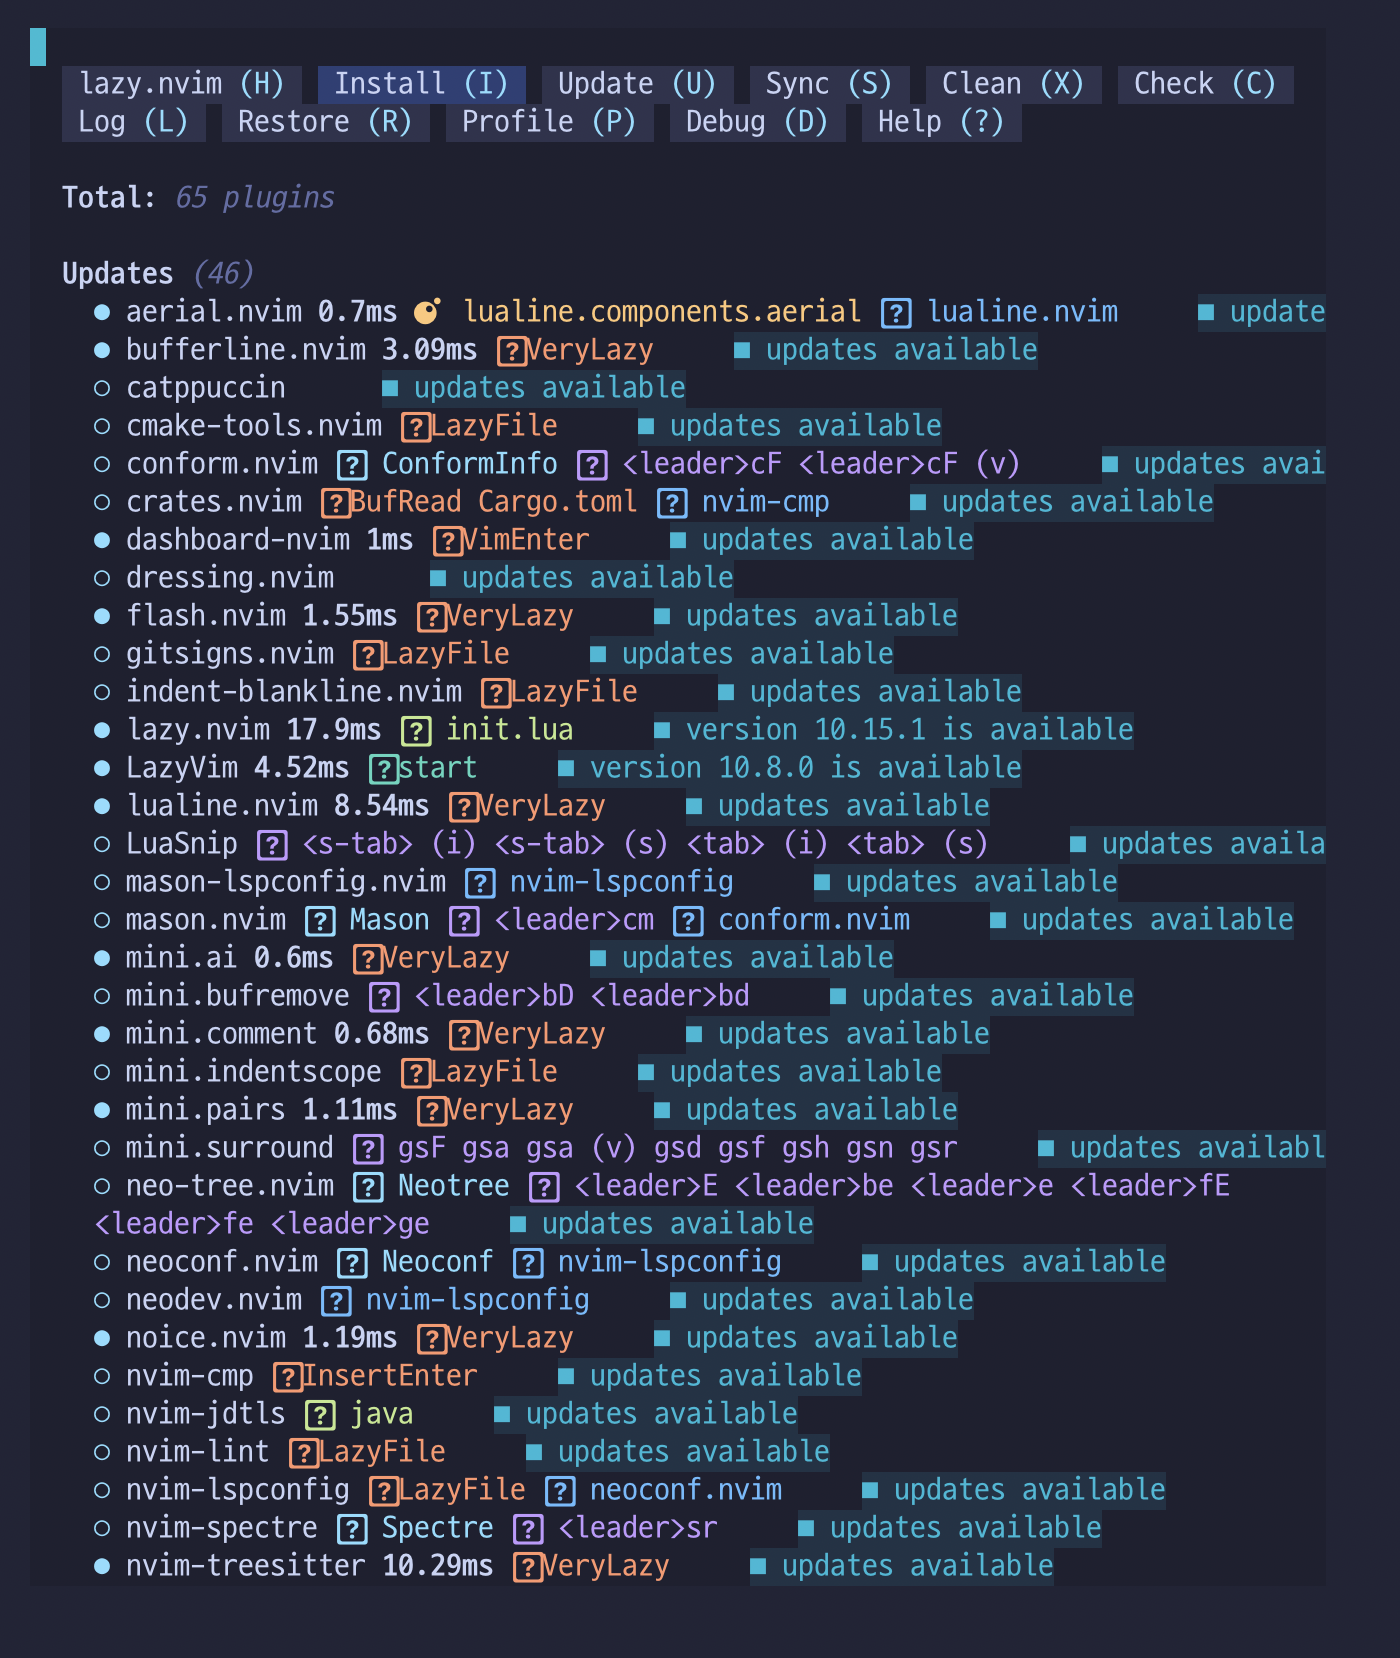
Installing the plugin
If you see the following screen after the installation, it's time to press l to enter lazy.
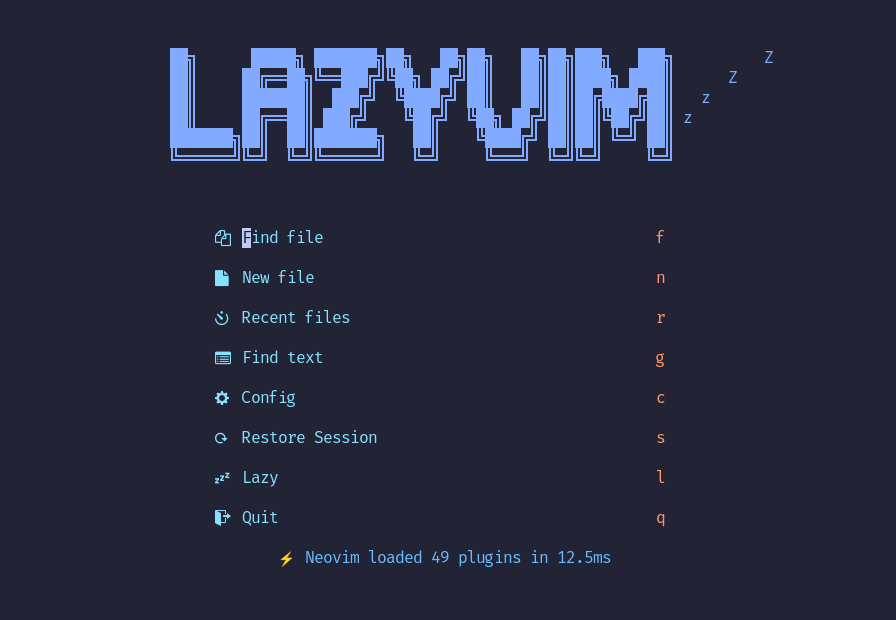
These are the plugins that are set up by default in LazyVim, but you can install any other plugins you need.
If you want to know which plugin does what, you can refer to the link below.
Alternatively, you can press the e (Lazy Extras) key to see a list of additional plugins you can install (to use the recently emerging AI code supporters, extend language support, and more).
From the list of available plugins, select and install the following (or your favorite)
formatting.prettierlang.clangdlang.cmakelang.markdownlang.python